


Support the site — ☕ Buy me a coffee
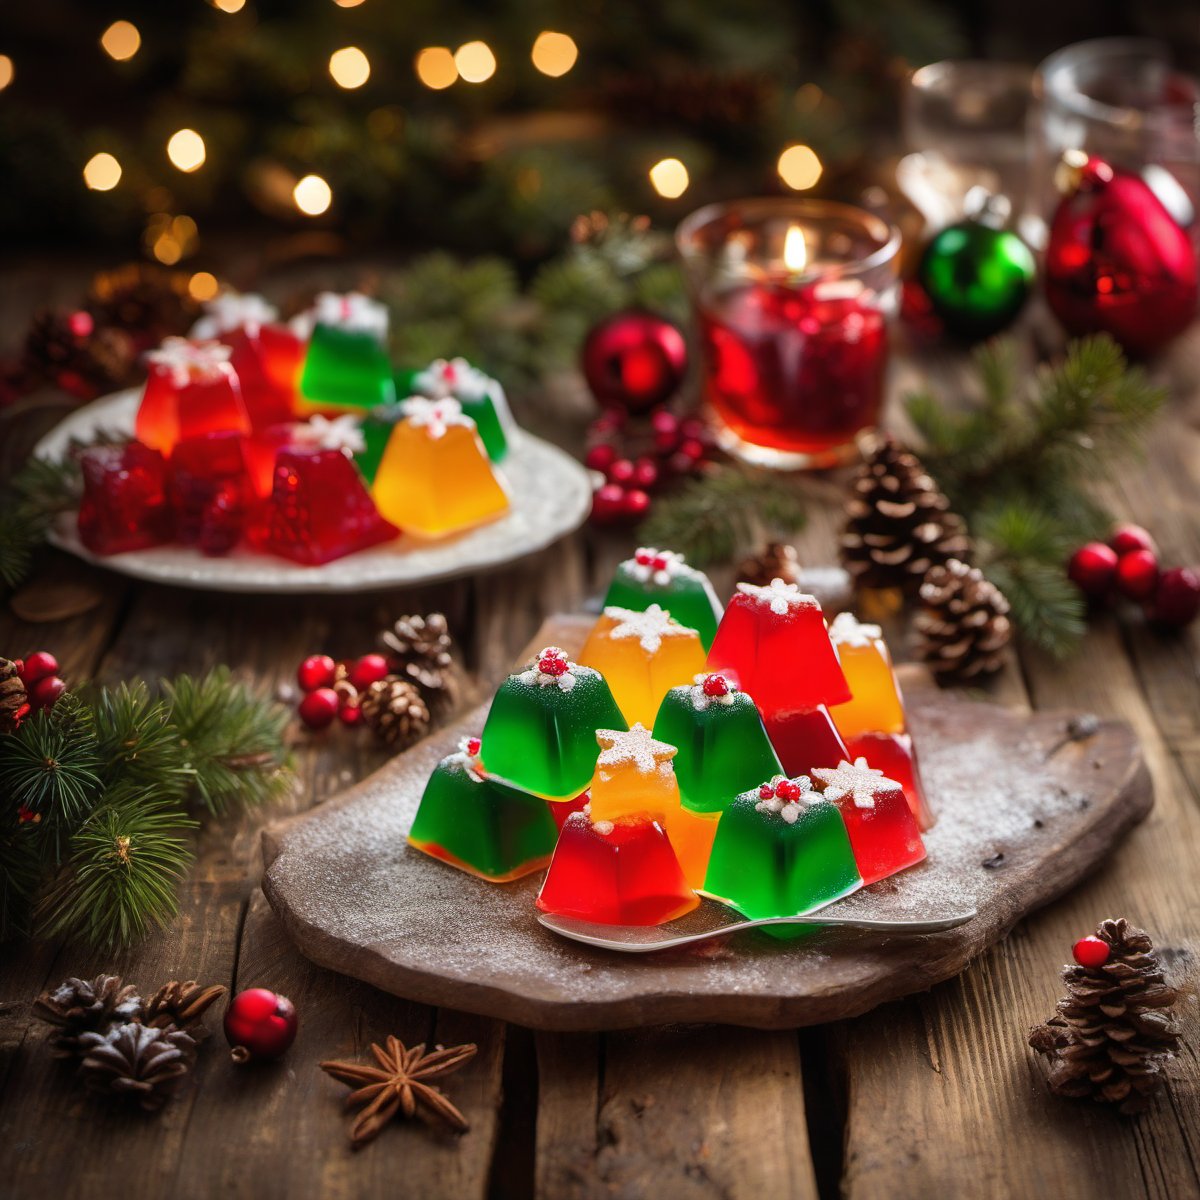
Christmas Finger Jello
I've been making Christmas Finger Jello for years now, and the secret I keep discovering each time is that you really need to use the clear gelatin powder instead of those little packets — it gives this its clean, translucent look. My kids used to beg me to make it every December, though honestly I stopped until someone pointed out how much easier it was than pie crusts or anything with rolling pins.What makes this recipe work is that you can mix the layers a few days ahead and just let them set in the fridge. The trick I always remember to do: when pouring each layer, tilt the pan slightly and pour down the side so it doesn't disturb the previous one — trust me on this one.I cut these into 1-inch squares for parties because they're small enough that people can grab handfuls without feeling guilty. They also taste like Christmas morning with their sweet vanilla flavor and bright red, green, and white layers.
Ingredients
Method
- Sprinkle gelatin over cold water in a large bowl and let it bloom for 5 minutes until swollen and opaque.
- Stir in boiling water until completely dissolved — no clumps should remain, about 2 minutes of stirring.
- Add sugar and vanilla extract; stir well to dissolve.
- Pour out 1/2 cup into a separate bowl (this will be your white layer).
- Divide the remaining gelatin into two equal portions: add red food coloring to one and green to the other.
- Grease an 8x8 inch baking dish lightly with nonstick spray or brush with neutral oil.
- Pour the white layer first — it should be about 1/4 inch thick when set. Let cool at room temperature for 5 minutes, then refrigerate for 20-30 minutes until firm to the touch but still slightly tacky on top (this prevents your next layer from sinking in).
- Pour red layer over white and repeat step 7 — chill until firm.
- Pour green layer over red and repeat — chill until completely set, about 1 hour.
- Remove from fridge, let sit at room temperature for 5 minutes (this helps with clean cutting), then slice into 1-inch squares using a sharp knife dipped in hot water between cuts.
Nutrition
Notes
When pouring each layer, tilt the pan slightly and pour down the side so it doesn't disturb the previous one — trust me on this one.
I cut these into 1-inch squares for parties because they're small enough that people can grab handfuls without feeling guilty. They also taste like Christmas morning with their sweet vanilla flavor and bright red, green, and white layers.