


Support the site — ☕ Buy me a coffee
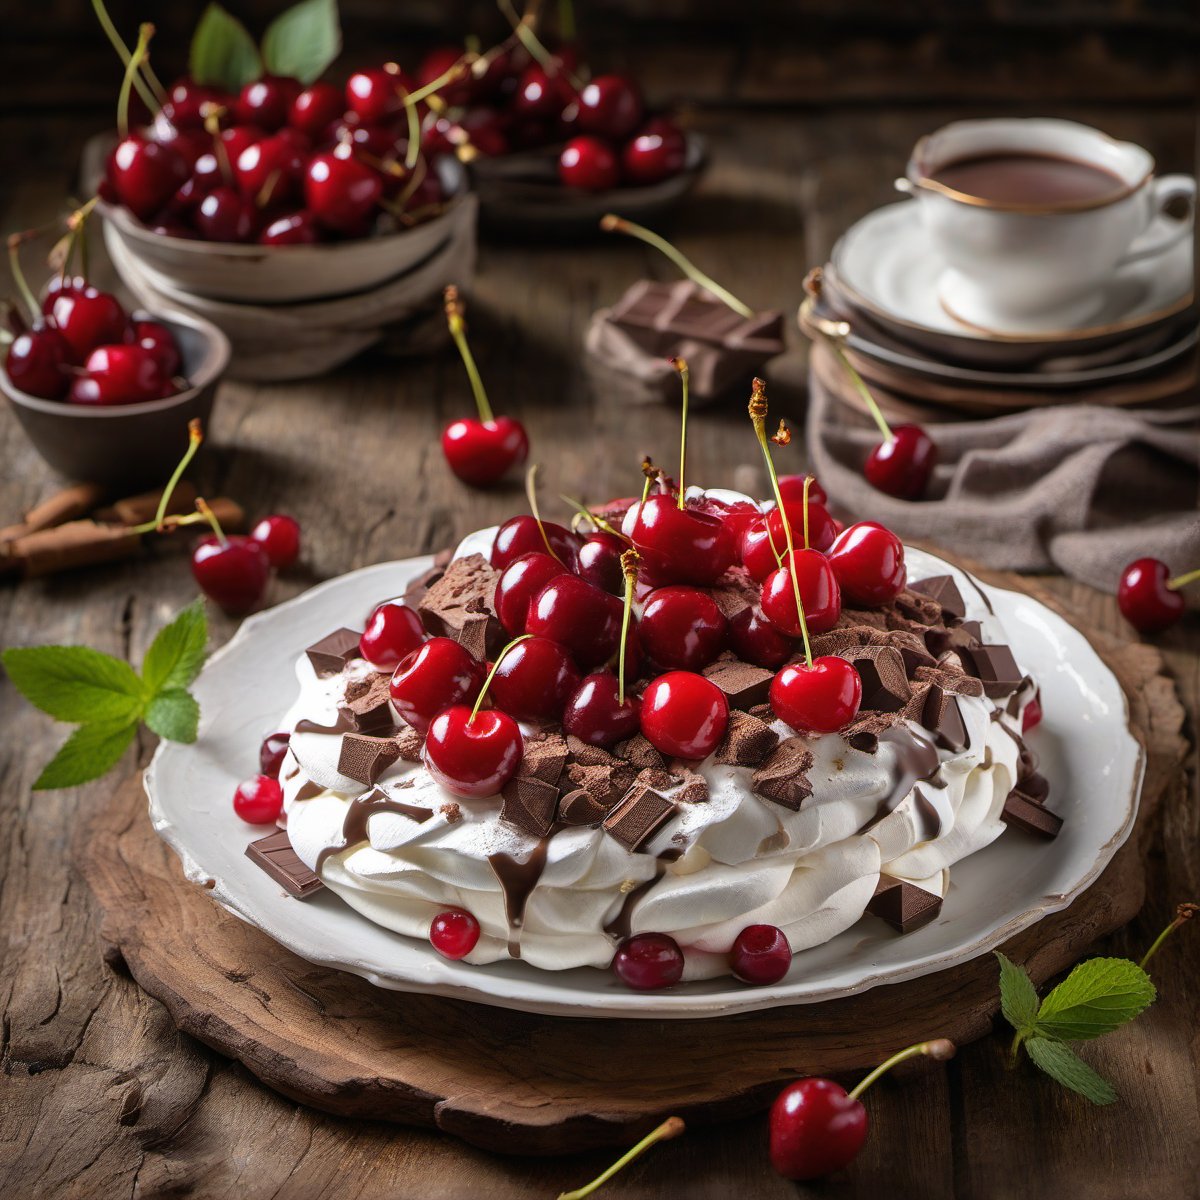
Cherry chocolate pavlova
The first time I made a pavlova, the meringue collapsed into something resembling a sad, sticky pancake. After several more attempts and one very thorough read of why egg whites sometimes refuse to behave, I landed on a version that holds its shape beautifully while staying delightfully crisp on the outside with a soft, marshmallow-like interior.I've served this cherry chocolate pavlova at dinner parties where it earned genuine gasps, but more importantly, I make it when friends come over casually because the components are forgiving and you can assemble it just before they arrive. The meringue bakes in about an hour while you focus on the toppings — the contrast between the tangy cherries and rich chocolate is what keeps me coming back to this one.The secret I keep returning to is letting the pavlova cool completely inside the oven with the door slightly ajar. This slow cooling prevents cracks from forming as the meringue loses steam, which means you get that signature hollow center without any ugly fissures ruining the presentation.
Ingredients
Method
- Preheat oven to 250°F (120°C). Line a baking sheet with parchment paper. Using the top of your pavlova pan or bowl as a guide, trace a circle about 8 inches in diameter on the parchment.
- In a clean, grease-free bowl, beat egg whites with an electric mixer on medium speed until foamy. Add cream of tartar and continue beating until soft peaks form — when you lift the whisk, the peak should hold its shape but gently flop over.
- Gradually add sugar, one tablespoon at a time, beating on high speed between additions. Continue until stiff, glossy peaks form. The meringue should look smooth and shiny, not grainy or curdled. About 8-10 minutes total.
- Fold in vanilla extract and cornstarch using a rubber spatula — be gentle so you don't deflate the meringue. It's done when no white streaks remain.
- Spoon meringue onto your traced circle, building up the edges higher than the center to create a little "bowl." Smooth the top with the back of your spoon. Bake for 1 hour until the exterior is firm and lightly golden (about 230°F internal temperature).
- Turn off oven and crack door open slightly using a wooden spoon handle wedged in the door. Let pavlova cool completely inside — about 2 hours, or ideally overnight.
- When ready to serve, whip cream with powdered sugar and vanilla until stiff peaks form (do not over-whip). Spread gently over the cooled pavlova.
- Sprinkle with chocolate and top with cherries and raspberries. Finish with toasted sliced almonds and additional chocolate drizzle if desired.