


Support the site — ☕ Buy me a coffee
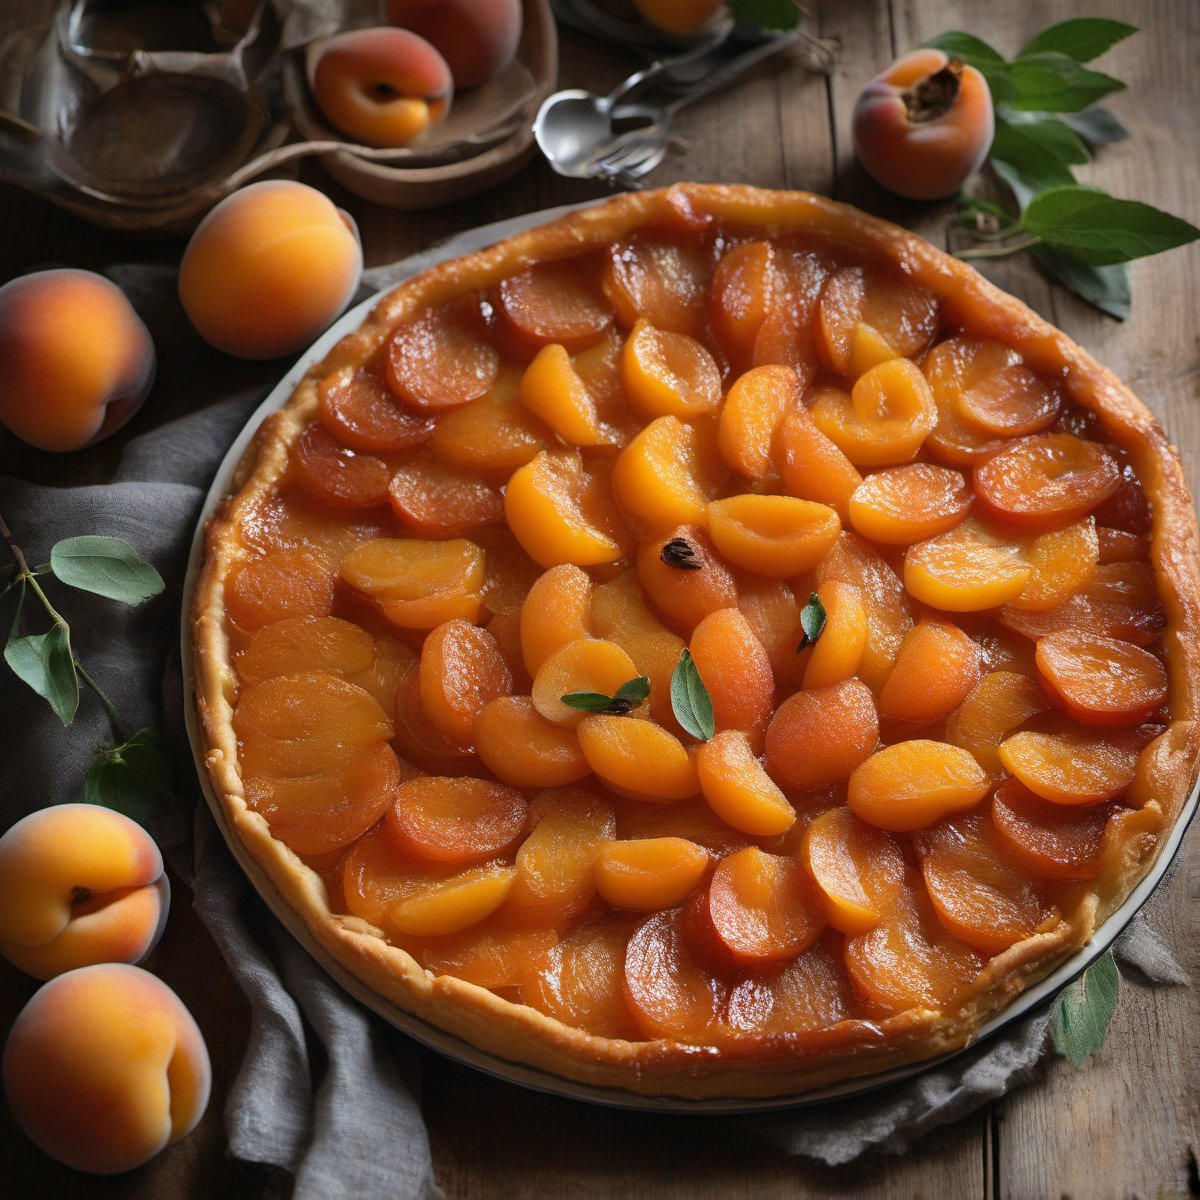
Apricot tarte tatin
I still remember the panic when my first apricot tarte tatin split open upon flipping. I’d rushed the caramelization, leaving the sugar too thin to hold its own weight against the fruit. That mistake taught me that patience is the secret ingredient here; letting those apricots surrender their juices creates a glossy glaze that acts as natural glue.
Ingredients
Method
- Prepare the Pan: Preheat your oven to 400°F (200°C). Generously butter a 9-inch (23cm) round, oven-safe skillet or deep pie dish. Ensure you get into every corner and up the sides. Line the bottom with a circle of parchment paper for easy removal later.
- Make the Caramel: In the skillet, combine the sugar and water. Stir gently over medium heat until the sugar dissolves. Once boiling, stop stirring and let it cook undisturbed until it turns a deep amber color (about 8-10 minutes). Watch closely near the end to prevent burning. Remove from heat immediately.
- Add Acidity: Carefully stir in the lemon juice. The caramel will bubble up vigorously. If any burnt bits formed at the very bottom, you can strain this through a fine-mesh sieve into a bowl now, but for rustic charm, leaving small specks is fine. Swirl to coat the pan evenly.
- Arrange the Fruit: Cut each apricot half in quarters if they are large. Arrange the apricot pieces tightly in concentric circles on top of the caramel, cut-side down. They should fit snugly; don’t worry about perfection here, as you’ll flip them later. Press down gently so they adhere to the sticky base.
- Prepare the Pastry: On a lightly floured surface, roll out your puff pastry or dough to fit the diameter of your skillet. Use a knife to trim any excess hanging over the edge by about half an inch—it’s better to have it slightly small than too big and floppy.
- Seal and Bake: Lay the pastry sheet over the apricots, tucking the edges down into the pan so they rest on the rim or inside the wall of the skillet (you can brush a little water on the rim to help seal). Cut two small slits in the center for steam to escape. Brush the top generously with the egg wash.
- Bake: Bake at 400°F (200°C) for 35-40 minutes, or until the pastry is puffed, golden brown, and the juices are bubbling vigorously through the vents.
- Rest and Flip: Remove from the oven and let it cool in the pan for exactly 10 minutes. This rest is crucial; if you flip too soon, the caramel will be too runny and drip everywhere. If too long, it sets hard. Place a large serving plate over the skillet. Using oven mitts, firmly hold the plate and pan together, then confidently flip them over in one swift motion.
- Serve: Lift the skillet off. If any apricots stick to the bottom, gently place them back on top using a spatula. Serve warm or at room temperature.
Nutrition
Notes
I keep this in my rotation because it looks stunning but demands minimal active effort. The key is using firm, slightly underripe apricots—they hold their shape better than soft ones—and ensuring the caramel reaches a deep amber before adding fruit. It’s elegant enough for dinner guests yet forgiving enough for a solo treat.
One practical tip I swear by: line your baking dish with parchment paper after brushing it with butter but before pouring the sugar. When it’s time to flip, you can simply lift the entire tart out by the paper edges, eliminating the risk of sticking or breaking the delicate pastry base.