



Support the site — ☕ Buy me a coffee
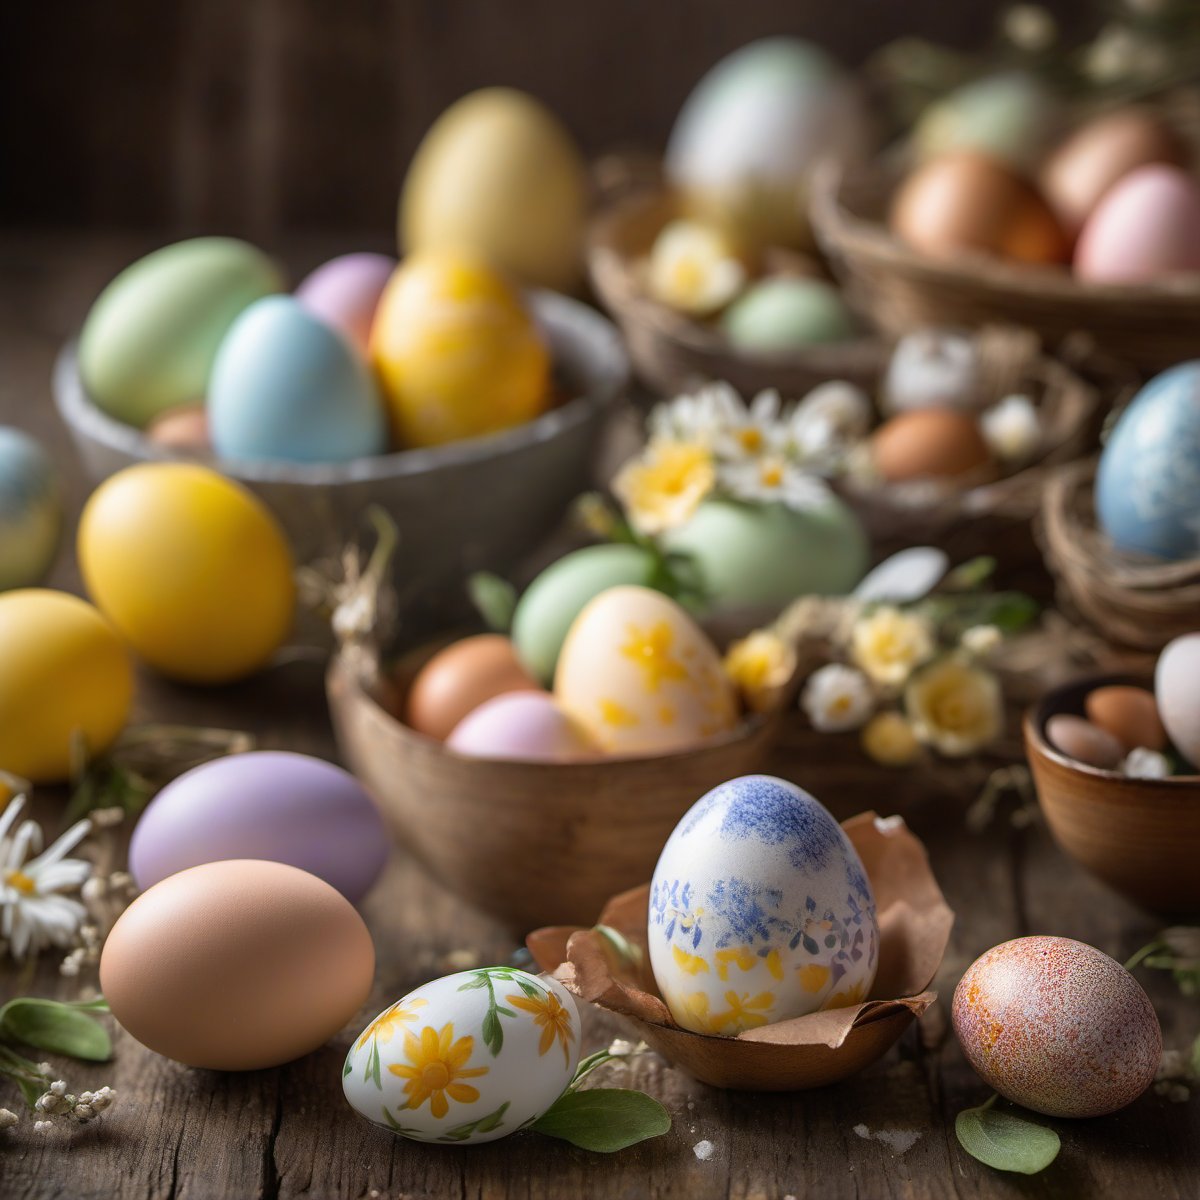
Decorating Easter eggs
I've been dyeing Easter eggs for years now, but I always used to fight with the colors — they'd come out muddy or uneven. The turning point was switching from white vinegar to citric acid in my dye water and letting them soak a bit longer. That small change made everything so much brighter and more reliable that this has stayed in my spring rotation ever since.
Ingredients
Method
- Prepare the dye stations. Line your work surface with wax paper and set out small bowls (I use ramekins or shot glasses). Add 2 tablespoons of vinegar to each bowl along with your food coloring — I recommend using about 10 drops per color for bright, saturated results.
- Add boiling water. Pour 3/4 cup of boiling water into each bowl and stir until the colors are well mixed. The hot water helps the dye penetrate the shells more effectively than room temperature water alone.
- Dip your eggs. Using a slotted spoon or tongs, gently lower one egg at a time into the dye bowls. Let them sit for 5-10 minutes depending on how deep you want the color — darker shades need longer. For best results, rotate the eggs halfway through to ensure even coloring.
- Remove and dry. Using your spoon or tongs, lift each egg out of the dye and place it on fresh wax paper. Allow them to air dry for about 10 minutes before decorating. Don't touch them too much while they're still wet — you'll smudge the color.
- Decorate as desired. Once slightly tacky-dry (about 10 minutes), use paintbrushes, markers, or other decorations to add your designs. If using washi tape, apply it before dyeing for clean white lines; if using pressed flowers, attach them after with a dab of glue.
- Finish and store. Once completely dry, brush lightly with cooking oil (olive or vegetable) to give the eggs a beautiful shine. Store in an airtight container at room temperature for up to 2 weeks, or refrigerate for longer storage — they'll last about 3-4 months that way if you're not eating them right away.
Nutrition
Notes
I like to keep the process simple enough that anyone can do it, even with little kids chasing around the kitchen table. I set up two stations: one for the dye bowls and another for laying out the eggs as they finish. It takes about 45 minutes from start to finish, and you'll have a beautiful display of colorful eggs ready to decorate or hide before Easter morning.
A quick tip — use room-temperature eggs straight from their carton rather than refrigerated ones. They take the color better and don't crack as easily when they hit the hot dye water.