


Support the site — ☕ Buy me a coffee
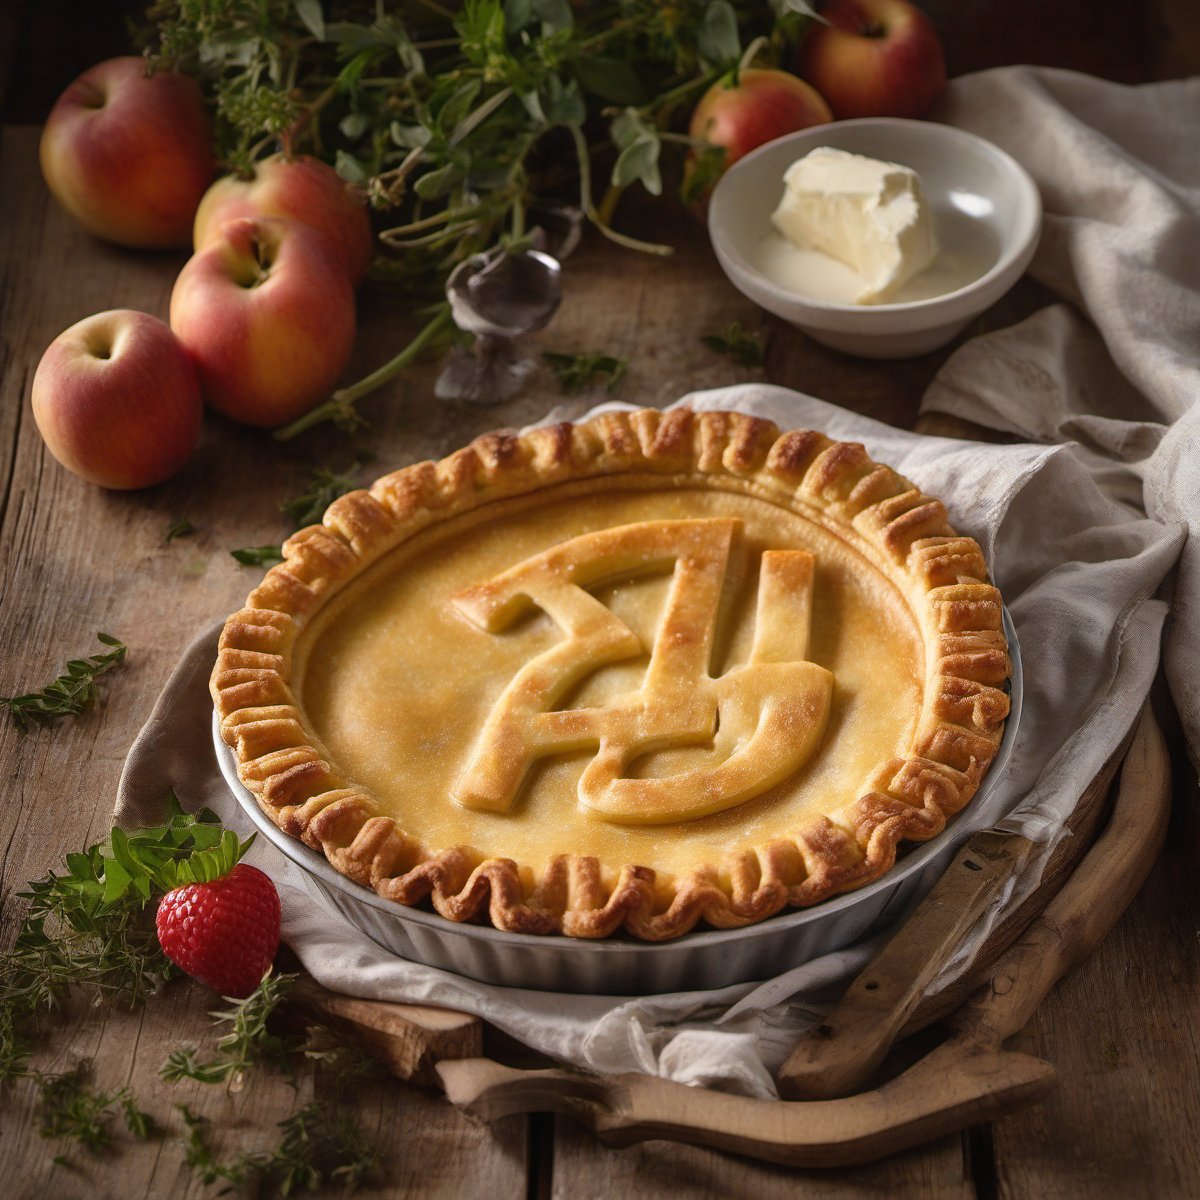
Happy Pi Day!
I've been making this dish for years now, ever since I was determined to make something special with a can of pie filling on a whim. The first time I pulled it out of the oven, my partner declared it "restaurant-worthy," which is usually code for "I'm going to want seconds." Now it's a regular in our rotation—especially when we have company over and need something that looks impressive without requiring hours of prep.
Ingredients
Method
- Preheat your oven to 350°F (175°C). Lightly grease a 9-inch round baking pan with nonstick spray or butter.
- In a large bowl, whisk together flour, sugar, and salt until combined. Add cold cubed butter and use your hands or a pastry cutter to work it in until the mixture resembles coarse crumbs—about the size of small peas.
- Press half of the crust mixture into the bottom of your prepared pan. Use your fingers to smooth it out evenly.
- Pour the cherry pie filling over the crust layer, spreading it gently if needed to reach all corners.
- Crumble remaining crust on top of the filling. Use a fork or your hands to create decorative cuts—think cross-hatching or random patterns—that let some of that gorgeous red peek through while baking.
- Brush the beaten egg over the top for a beautiful golden finish. Bake for 30 minutes, rotating halfway through if your oven runs hot spots.
- Let cool completely before slicing (I know the smell alone will make you want to dive in—resist!).
Nutrition
Notes
What makes this recipe so reliable is its simplicity: just three ingredients, one bowl, and about 30 minutes from start to finish. The magic happens in the baking time—the crust turns golden brown while the filling bubbles up through those decorative cuts on top. I always set my oven to 350°F (that's 175°C for anyone using a thermometer) and let it bake until the edges are firm but the center still has a slight jiggle.
One tip that really elevated this recipe from good to great was letting it rest for about 10 minutes before slicing. The filling sets up nicely during this time, giving you those clean slices everyone admires. I've tried cutting into it too early and ended with a mess on my knife—don't make the same mistake!