Ingredients
Method
- Preheat your oven to 325°F (165°C). Take your spiral-sliced ham out of the packaging and remove any plastic wrapping or cardboard discs from the top. Pat the entire surface dry with paper towels; this is crucial so the glaze can stick properly.
- In a small bowl, whisk together the brown sugar, honey, Dijon mustard, minced garlic, black pepper, and salt until it forms a thick, sticky paste. You want to ensure there are no clumps of sugar, as those won't melt evenly in the oven.
- Gently spread about two-thirds of the glaze mixture over the top and sides of the ham. Since this is spiral-sliced, try to get into the crevices between the slices without pushing the meat around too much. Tuck any loose rosemary sprigs into the center if you are using them.
- Place the ham in a large roasting pan (or a rimmed baking sheet). Bake for approximately 10 to 12 minutes per pound. For an 8-10 lb ham, that's roughly 1 hour and 30 minutes to 2 hours total.
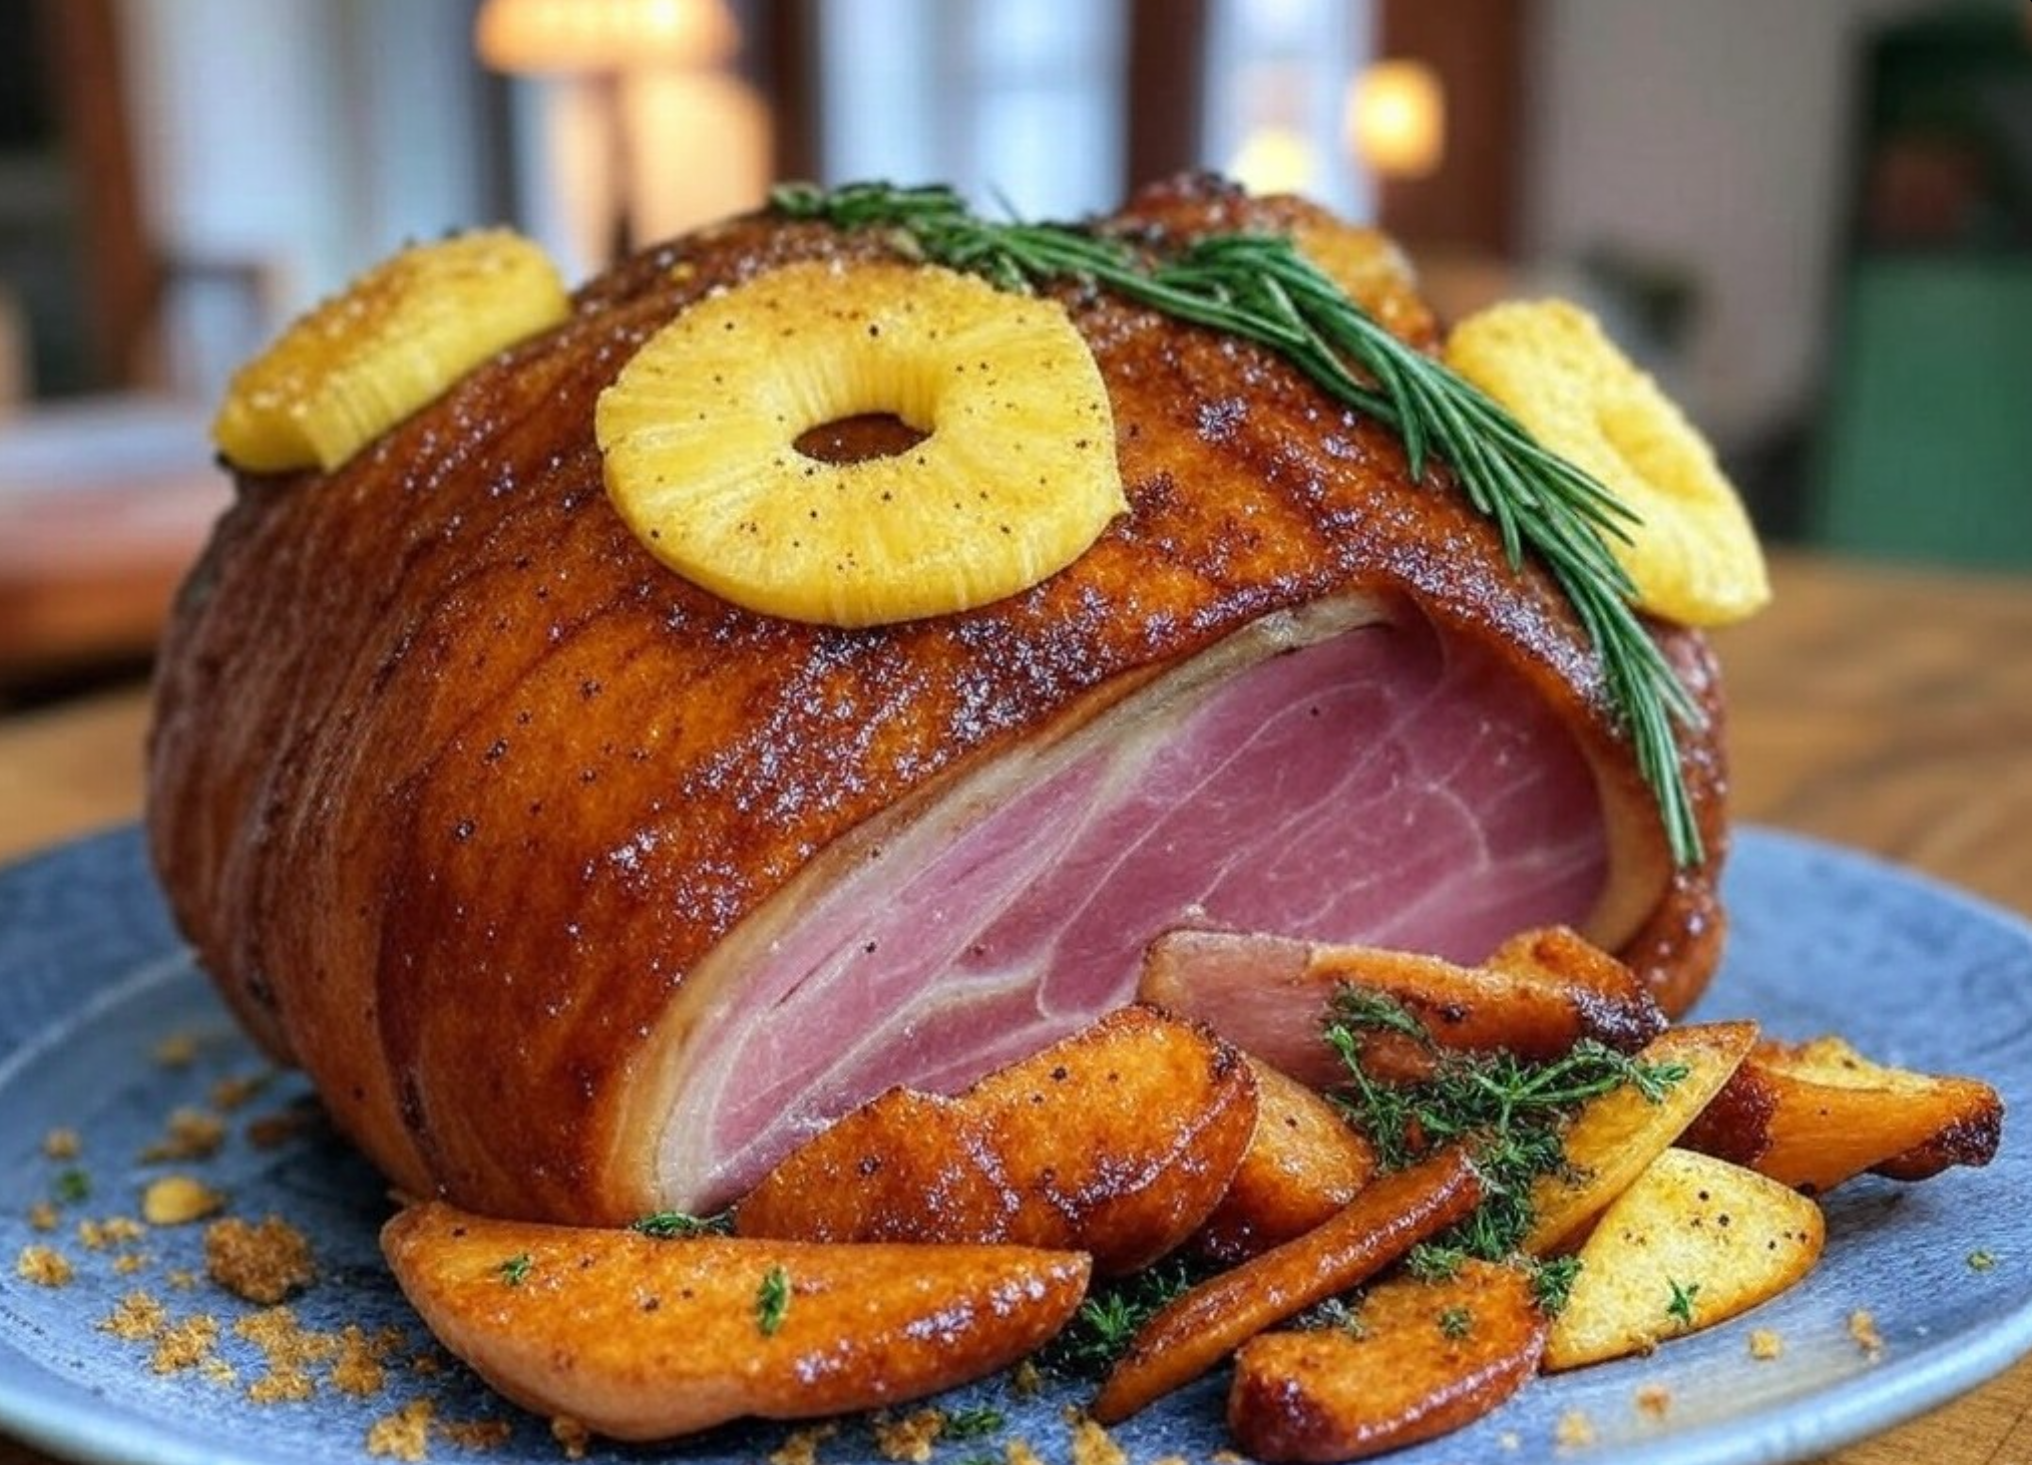
Visual Cue: You are looking for the glaze to turn a deep golden brown and become bubbly around the edges. The internal temperature of the thickest part (avoiding the bone) should reach 140°F. Since it's fully cooked, we only need to heat it through; if you go past 150°F, the sugars in the glaze will start to burn before the meat is warm enough. - About 30 minutes before the ham is done, remove it from the oven. Brush on the remaining glaze mixture. Return the ham to the oven for those final 30 minutes. This second application creates that signature hard, shiny shell that holds up beautifully when you carve it.
- Once the timer goes off and the temperature hits your target, remove the ham from the oven. Let it rest on a cutting board or warm platter for at least 15 to 20 minutes. This allows the juices to redistribute so every slice stays moist. Slice between the spiral lines (or straight across the bone if you prefer larger chops) and serve immediately with your favorite mashed potatoes or green beans.
Nutrition
Notes
One tip that makes a *real* difference here is to buy a fully cooked, bone-in ham. It saves you from having to cook the meat for hours (which can dry it out) and lets you focus entirely on making that beautiful glaze stick. Just remember: if you use a pre-cooked ham, you are essentially reheating it in a honey bath! Don't overcook it, or you'll end up with rubbery meat instead of tender, juicy slices perfect for your family gathering.
Kitchen Notes & Tips:
- **Substitutions:** If you're out of honey, maple syrup or agave nectar works great (though the flavor will shift slightly). For the mustard, yellow mustard is traditional, but Dijon adds a nice tang that cuts through the sweetness.
- **Storage:** Leftovers are delicious! Store any remaining ham in an airtight container in the fridge for up to 3 days. Reheat gently in the oven at 275°F with a splash of broth or water to keep it from drying out.
- **Make Ahead:** You can brush the initial layer of glaze on the day before, cover tightly with foil, and store in the fridge. Just remember to remove the foil and add the final glaze right before baking to ensure that perfect caramelization.
- **Substitutions:** If you're out of honey, maple syrup or agave nectar works great (though the flavor will shift slightly). For the mustard, yellow mustard is traditional, but Dijon adds a nice tang that cuts through the sweetness.
- **Storage:** Leftovers are delicious! Store any remaining ham in an airtight container in the fridge for up to 3 days. Reheat gently in the oven at 275°F with a splash of broth or water to keep it from drying out.
- **Make Ahead:** You can brush the initial layer of glaze on the day before, cover tightly with foil, and store in the fridge. Just remember to remove the foil and add the final glaze right before baking to ensure that perfect caramelization.